
Have you seen those adorable hair bows folks are cranking (literally!) out on their knitting machines?! In all fairness, I am one of those folks - I do adore my knitting machine for simple projects. When folks starting asking me how I made my bows, I posted a simple tutorial in a couple of knitting machine groups. Sharing is caring, right?
BUT - since my first love is truly crochet, I wanted to offer a crochet version of the bow tutorial. And since I put my knitting machine tutorial out there for free, I knew my crochet pattern had to be free as well.
So...here ya go:
Skill Level:
Advanced Beginner
Written by:
Nikki Little of A Lil’ Loopy
Gauge using 5.5 (I) hook :
4 wcs x 5 rows = 1”
Materials:
5.5 mm (I) Crochet Hook
Worsted Weight Yarn
Measuring Tape
Needle
1.75" Alligator Clip
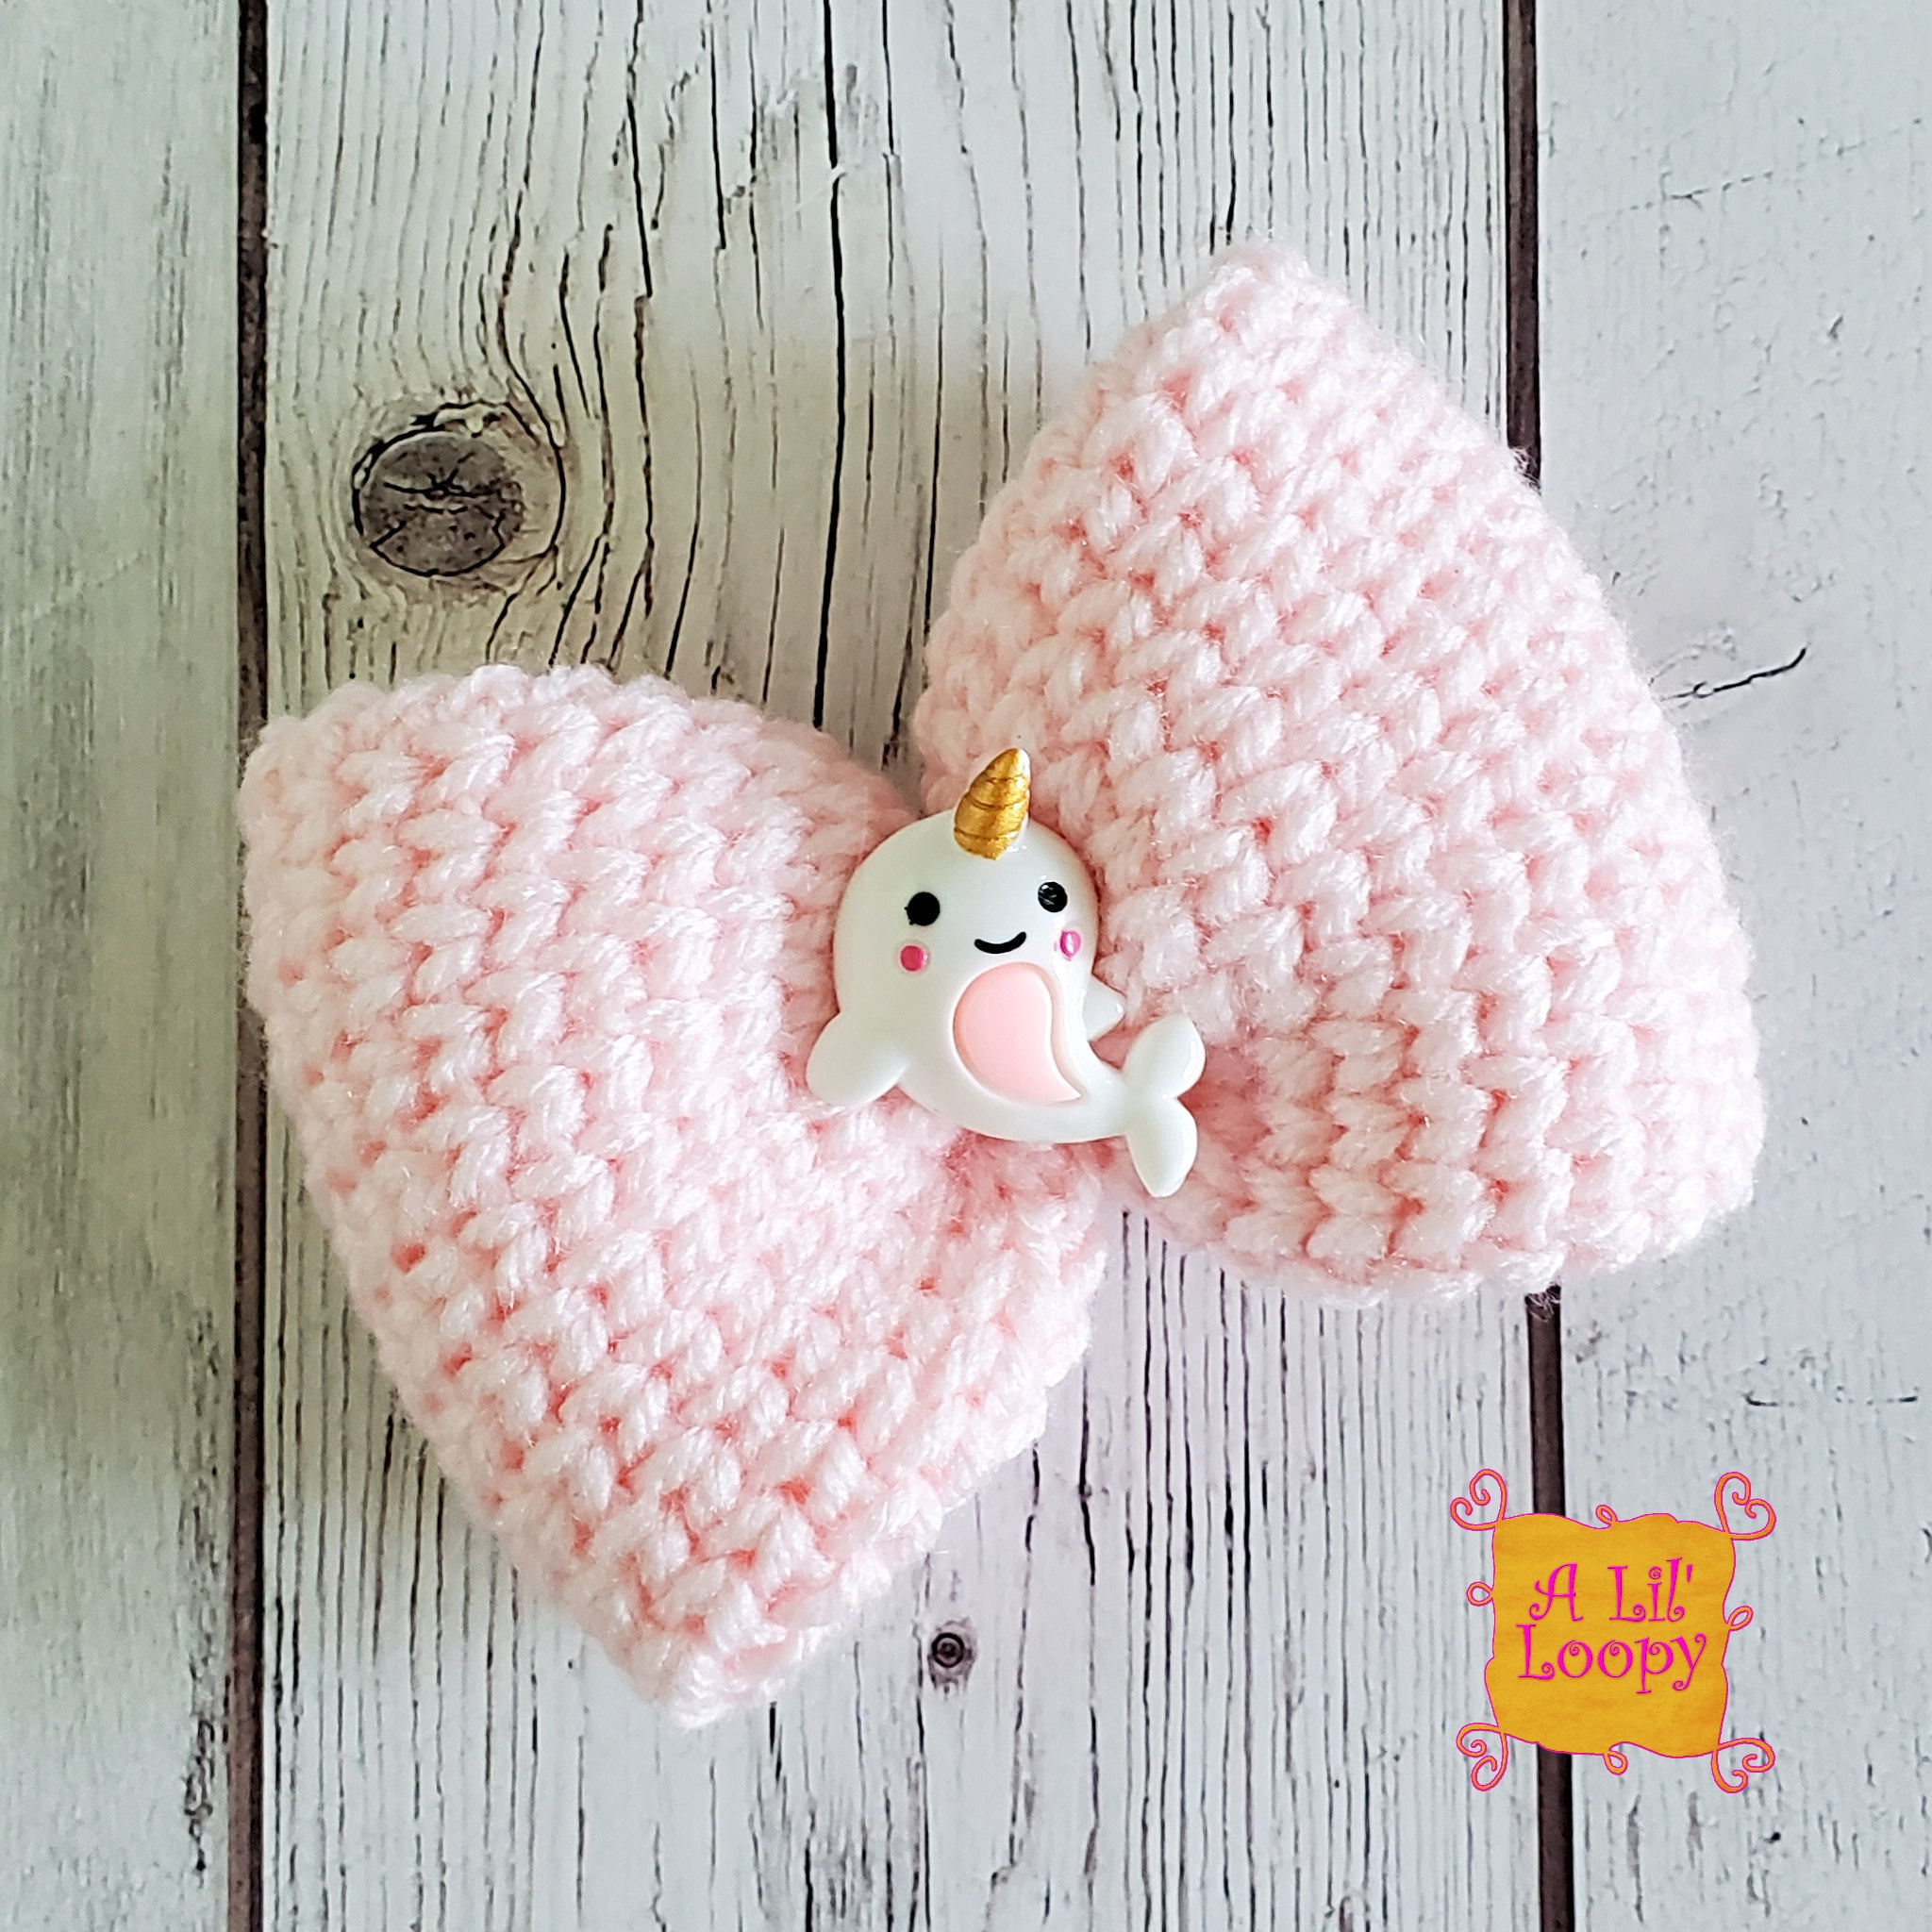
Bow Center/Resin Charm/Button (optional)
Hot Glue: Optional
Size:
Finished tube: 3" wide x 8" long
FInished bow: 3" x 4:
Abbreviations:
ch - chain
sc - single crochet
wcs - waistcoat stitch
sl st - slip stitch
rnd - round
**Please read through the entire pattern prior to beginning your bow!**
Special Stitches:
Waistcoat Stitch: insert hook into the post of the next sc (between the “V”), pull up a loop, yarn over and pull through both loops on hook.
Pattern Notes:
· The pattern is worked in continuous rounds with the exception of round 1.
· The waistcoat stitch tends to be a bit stiff. The tighter your tension, the stiffer the result. I recommend crocheting the waistcoat stitch with a medium to loose tension for this pattern.
· I have included gauge on the first page of this pattern; however, gauge isn’t all THAT important.
· I use lined alligator clips for my bows. You can find tons of video tutorials on YouTube for lining your own clips, or you can purchase them already lined from most bow supply shops.
· For the centers, there are TONS of options available on Etsy (which is where I purchase mine). Search for the following: bow centers / flatbacks / cabochons / resins.
· I use hot glue to attach my bow centers to the bows. It takes a good bit of tugging and pulling to get the centers off - but it is possible. You can also sew cute little buttons to the center. Of course, the bows look just as adorable without the decorative centers.
Instructions: Leaving a long tail, ch 22, being careful not to twist ch, sl st to beginning chain to form a ring.
Round 1: Ch 1, sc in 1st ch and in each ch around. (22)
Work in continuous rounds from this point forward.
Round 2: Wcs in each st around. (22) Repeat round 2 until your tube measures approximately 8”.
Fasten off leaving a long tail. At each end of your tube, weave your tail in and out of the stitches (as if you were closing the top of a beanie) and cinch to close. Tie the ends together tightly. Wrap the ends around the center of the bow - making sure to wrap around the front and back. Secure the ends. Attach the alligator clip by sliding it under some of the yarn you just wrapped around the center and secure with a dab of hot glue (if using) or fabric glue. Attach your bow center (if using).
Enjoy!
Terms of Use: This pattern and the photographs contained herein are the sole property of Nikki Little and A Lil’ Loopy. This pattern is for personal use only. Reproduction or distribution of this pattern, in whole or in part, and it’s photographs is strictly prohibited. Items made from the use of this pattern may be sold both in person and online. If selling online or posting finished products to social media, please offer pattern credit to @ALilLoopy and use #bittyfauxknitbow